In today’s competitive business landscape, providing exceptional customer support is crucial for maintaining customer satisfaction and loyalty. However, managing a large volume of customer support emails efficiently and effectively can be challenging. This is where Email Sentiment Analysis comes into play, offering insights into customer sentiment to improve the overall support experience.
Sentiment analysis is the process of detecting the emotional tone or attitude of a text, such as positive, negative, or mixed. By using sentiment analysis on email content, one can gain insights into the feelings and opinions of the email senders or recipients, and use them for various purposes, such as customer feedback, customer service, etc
In this blog post, we’ll explain how OpenAI’s powerful tools are used to analyze email sentiments in Creatio, helping improve customer support strategies.
Problem Statement:
Inefficient customer support management due to overwhelming email volume, resulting in delayed responses to critical issues, inconsistent customer satisfaction, and a lack of systematic measurement of customer sentiment.
Solution:
Implement Email Sentiment Analysis in Creatio to automate the analysis of customer support emails, prioritize them based on sentiment scores, and gain valuable insights into customer sentiments and preferences using OpenAI.
Business Use Case:
A medium-sized e-commerce company receives hundreds of customer support emails daily but struggles to efficiently manage them. By implementing Email Sentiment Analysis in Creatio, the company can automate the analysis of email sentiments, prioritize urgent issues, and improve overall customer satisfaction and loyalty.
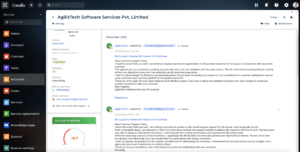
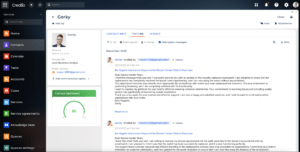
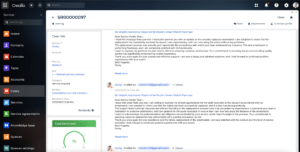
OpenAI Email Sentiment Analyzer for Creatio: Add-on setup
Visit the Creatio Marketplace to download/install the add-on package “OpenAI Email Sentiment Analyzer for Creatio“.
Features:
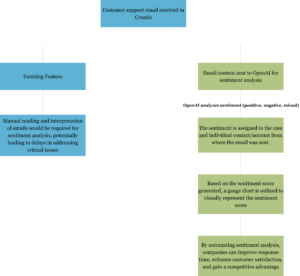
- Automated sentiment analysis of customer support emails: Utilizes OpenAI to automatically analyze the sentiment of incoming emails, saving time and effort for support agents.
- Provides insights into customer sentiments and preferences: Helps businesses understand how customers feel about their products or services, allowing them to tailor their offerings to better meet customer needs.
- Improves response time to critical issues: Prioritizes emails based on sentiment scores, ensuring that urgent customer issues are addressed promptly and efficiently.
- Enhances overall customer satisfaction and loyalty: By responding quickly to negative sentiment emails and resolving customer issues effectively, businesses can improve customer satisfaction and foster loyalty among their customer base.
Privilege of OpenAI Email Sentiment Analyzer for Creatio download:
This add-on enables businesses to seamlessly integrate sentiment analysis into their CRM system, enhancing their customer support capabilities and improving overall customer satisfaction.
AgilizTech, a trusted partner for Creatio does customization for them. To know more on how we do customization for a business as per their requirements visit our AgilizTech – Creatio blog.

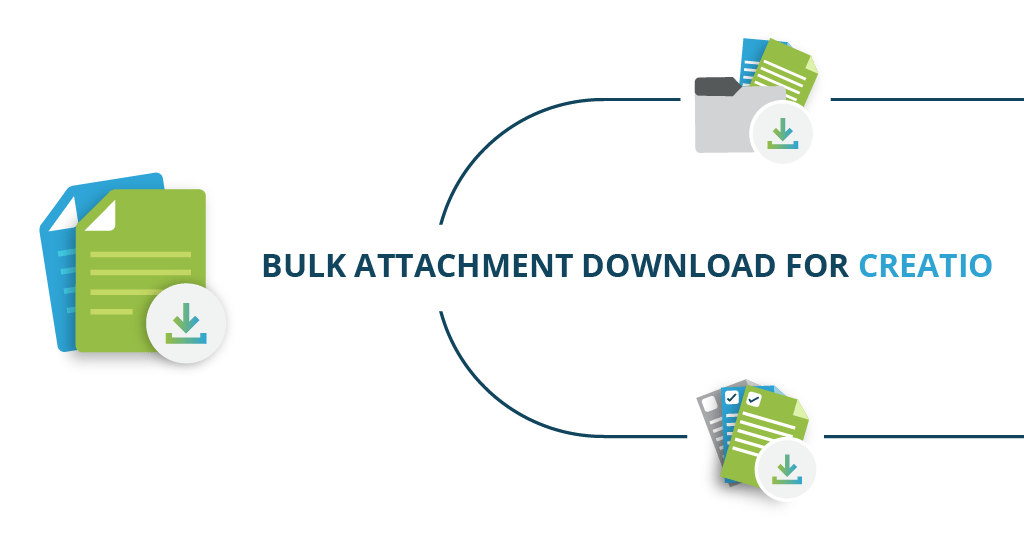
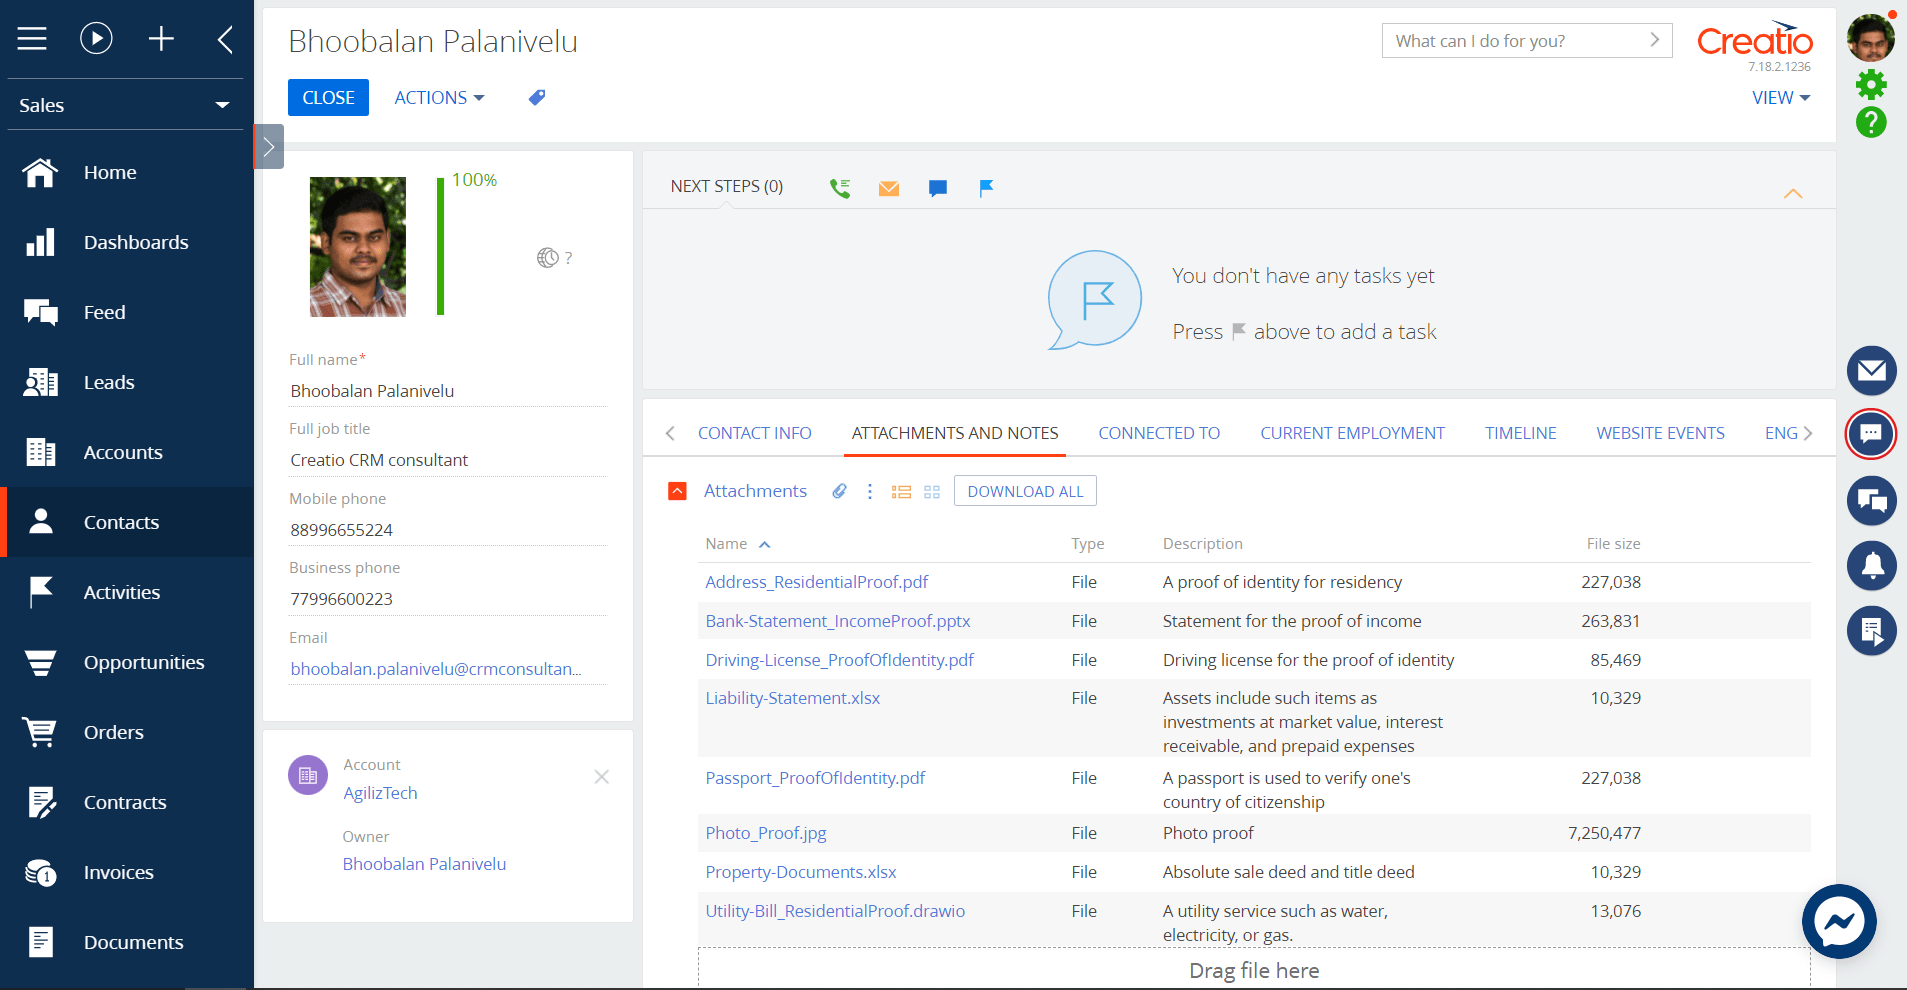
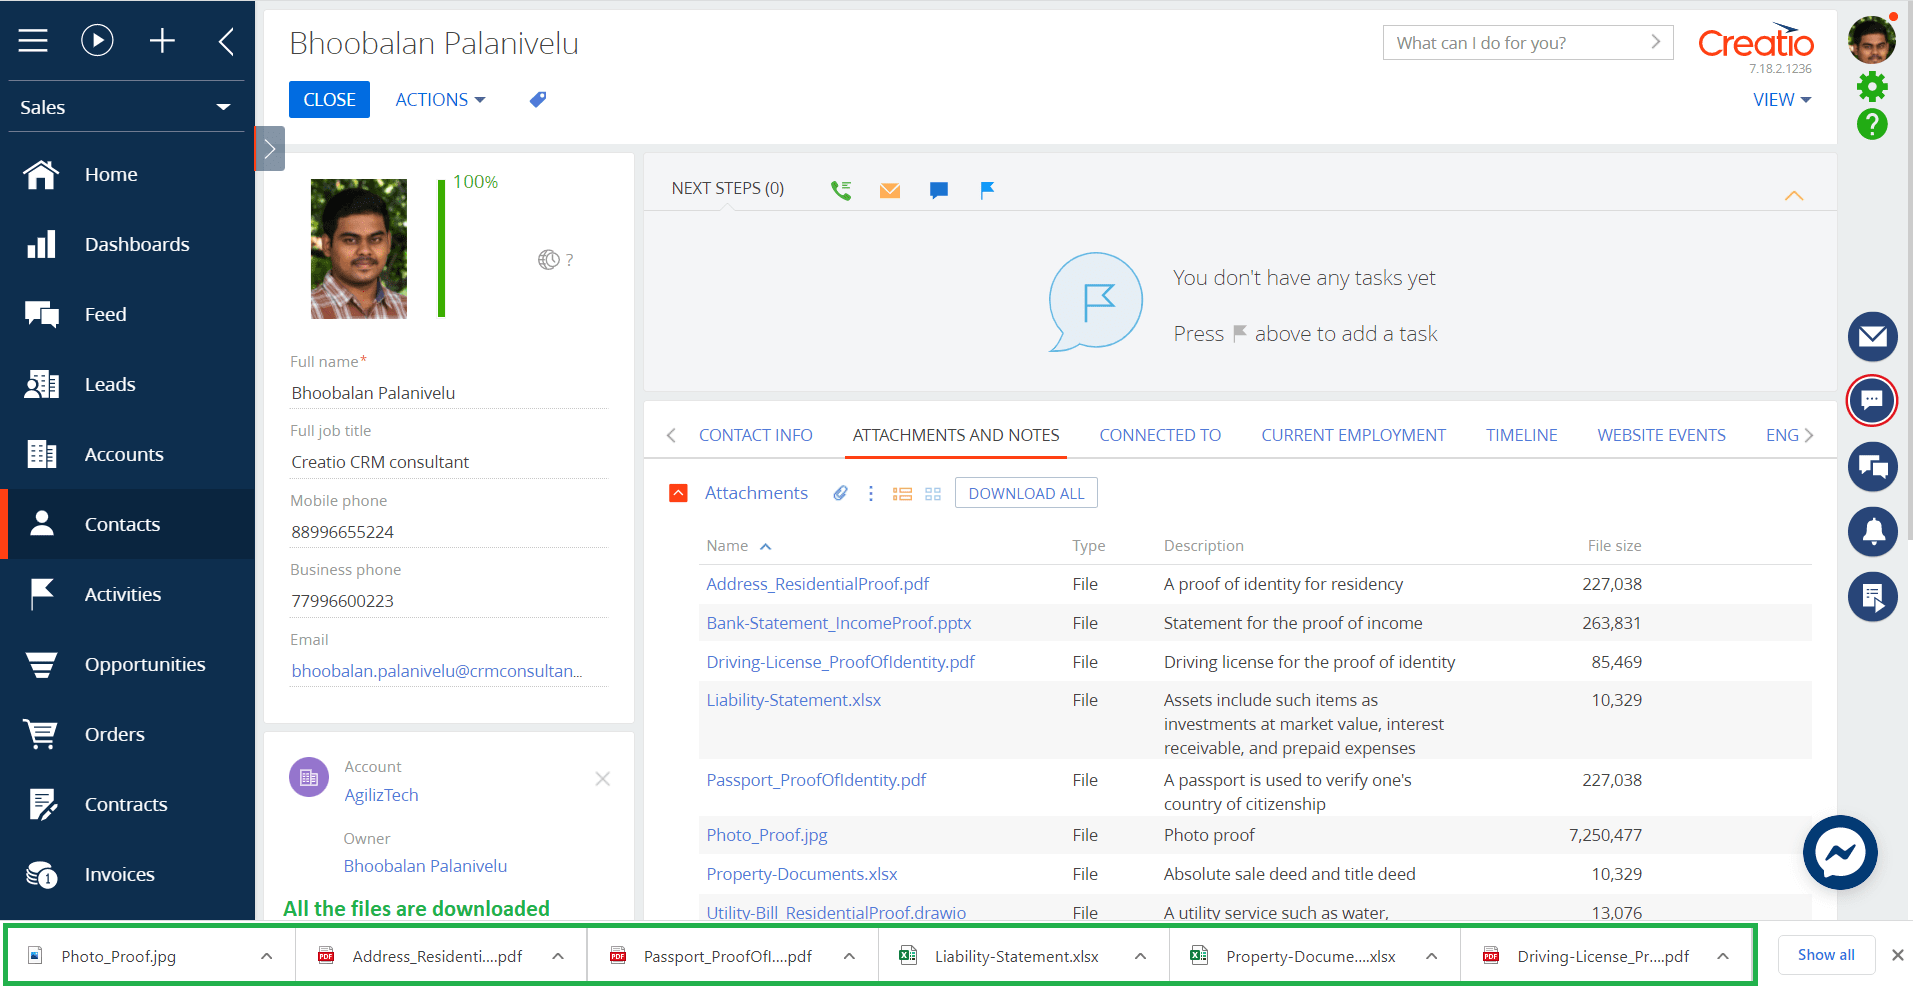
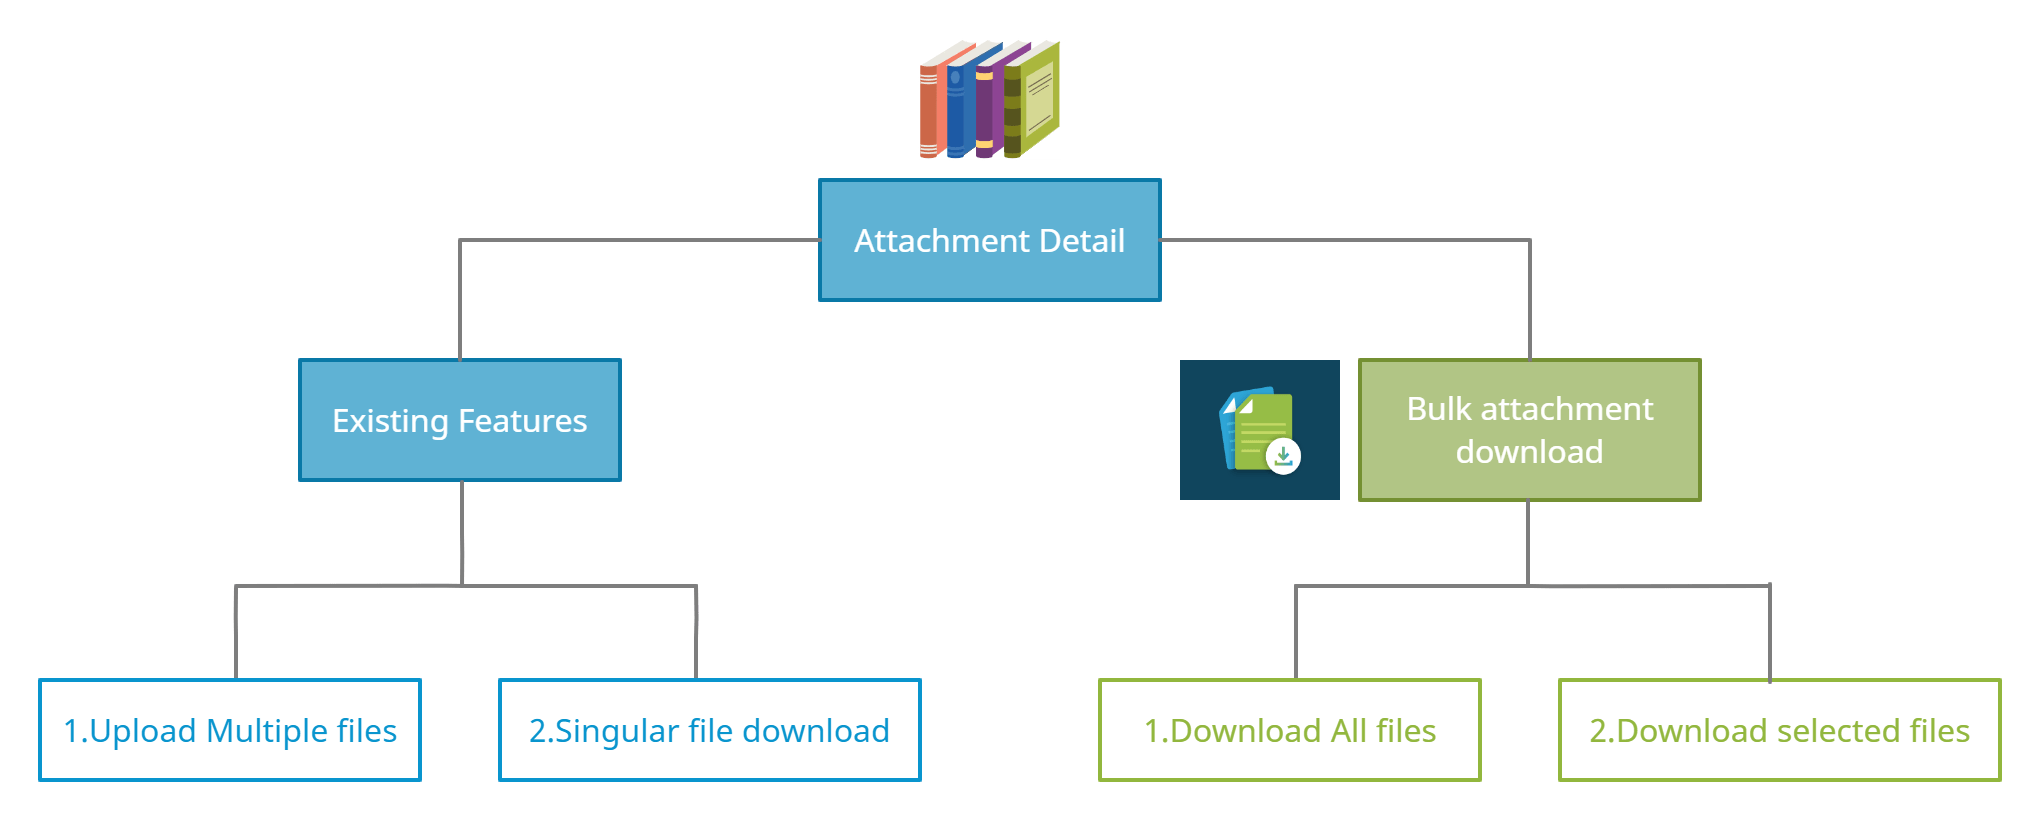 Bulk attachment download for Creatio add-on feature is available across all the product bundles of Creatio CRM to ensure conventional use and meet the business requirement.