How to Create an Azure SQL Database

Creating SQL Database
This section provides step-by-step instructions on how to create an Azure SQL database.
Azure SQL Database is a comprehensive platform as a service (PaaS) database engine that takes care of various database management functions, including upgrading, patching, backups, and monitoring, without requiring user intervention. It operates on the latest stable version of the SQL Server database engine and patched OS, ensuring 99.99% availability at all times.
To create an Azure SQL database
- Sign in to the Azure Portal.
- In the Search box, search for SQL database. The SQL databases pane appears.
- Under SQL databases, click Create.
The Create SQL database pane appears.
Basics
You can use the Basics pane to create SQL database with your preferred configurations.
To configure basics
- Under Project details, do the following:
- In the Subscription list, choose the required subscription.
- In the Resource group list, choose the required resource group.
- If you do not have one, click Create new, enter the name, and click OK.
- Under Database details, do the following:
- In the Database name box, type database name.
- In the Server list, click Create new.
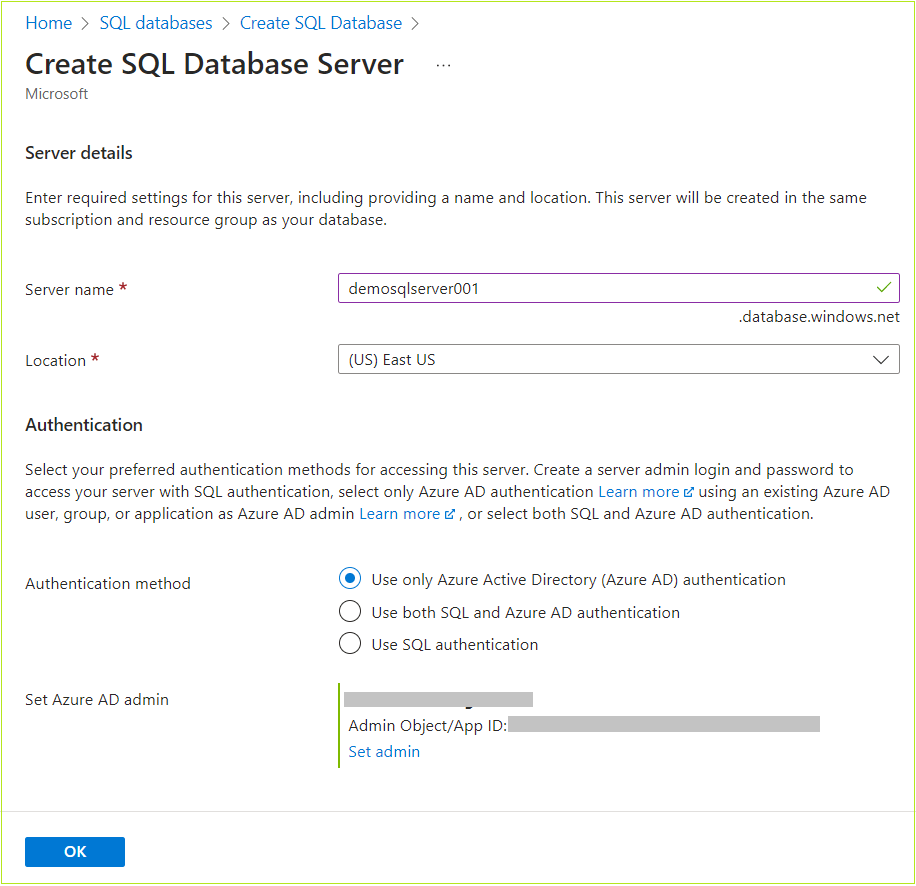
The Create SQL Database server pane appears.
- Under Server details, in the Server name box, type a server name.
- In the Location list, choose the default location.
- Under Authentication, for Authentication method option, choose the required authentication.
- Click OK.
- The Create SQL Database – Basics pane appears.
- Under Backup storage redundancy, click the required option.
- Click Next : Networking >.
The Networking pane appears.
Networking
You can use the Networking pane to configure network connection and connection policy.
To configure Networking
- Under Network connectivity, click the required connectivity method.
- Under Connection policy, click required policy.
- Under Encrypted connections, in the Minimum TLS version list, choose the required TLS version.
- Click Next : Security >.
The Security pane appears.
Security
You can use the Security pane to configure the following:
To configure Security
- Choose the required options in the Security
- Microsoft Defender for SQL: Whether to enable Microsoft defender for SQL.
- Ledger: Allows you to configure ledger.
- Identity: Allows you to configure identities.
- Transparent data encryption: Allows you to configure transparent data encryption.
- Click Next : Additional settings.
The Additional settings pane appears.
Additional settings
You can use the Additional settings pane to configure parameters including database collation and maintenance window.
To configure additional settings
- Choose the required options or continue with the default values.
- Click Next : Tags>.
The Tags pane appears.
Tags
To create tags
- In the Name box, enter a name for the tag.
- In the Value box, enter a value.
- Choose the number of resources from the Resource.
- Click Next : Review + create >.
The Review + create pane appears.
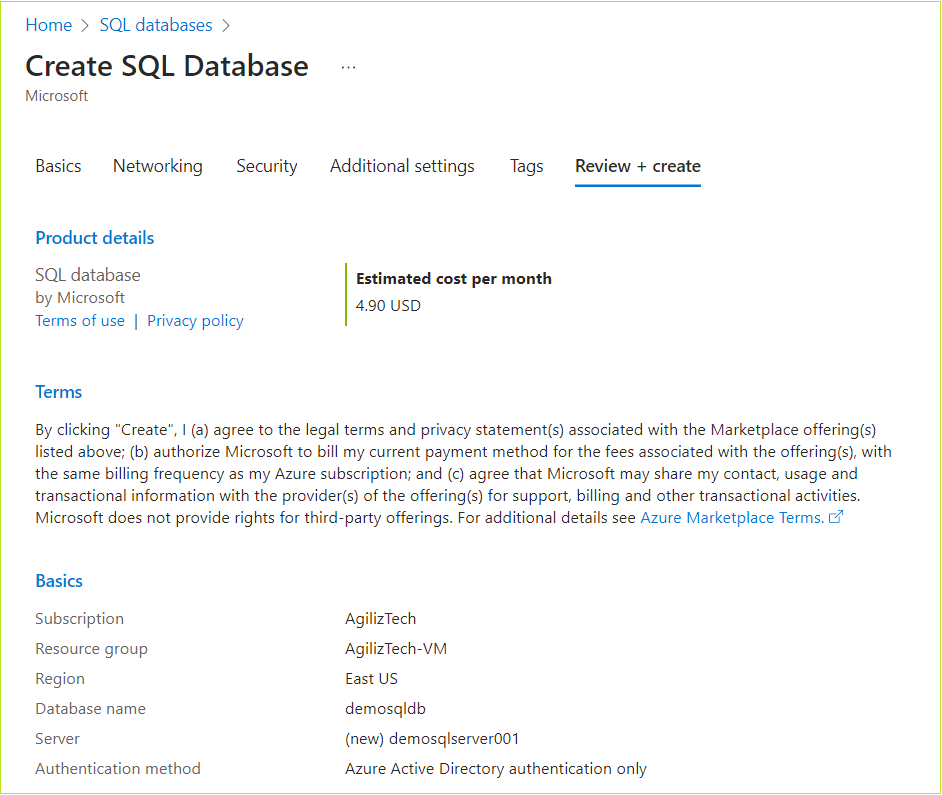
Review + create
Review all the SQL database configuration details and create.
- Review the details of the SQL database configuration and then click Create.
The newly created SQL database appears in the SQL databases pane.