Problem Statement
During a lead generation process of a sales / marketing team, they should have the ability to capture as much as information about their lead in the Creatio (formerly bpm’online) CRM. Currently Creatio supports to capture few of the standard sections like leads, cases, orders & event registration through a WordPress integration of landing pages. This blog is about how to capture additional information to be gathered via landing pages other than the standard sections available as of today.
Solution
In this blog we will learn about the steps that needs to be followed to integrate WordPress landing page with a custom object in Creatio (formerly bpm’online).
Steps for integrating a WordPress landing Page to custom section
Creatio (formerly bpm’online) configurations
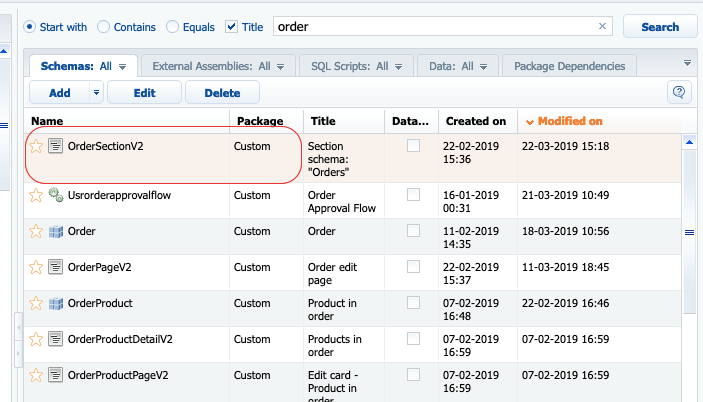
Create the custom object to which landing page needs to be integrated. For example; create an object “UsrAdditionalCustomerData” (sample object name for explanation purpose)
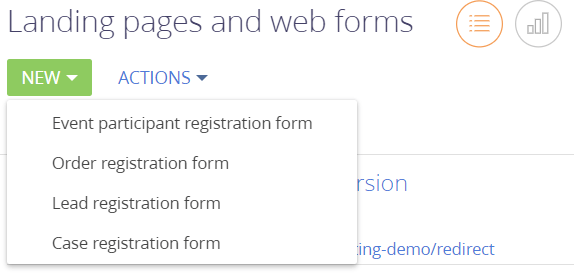
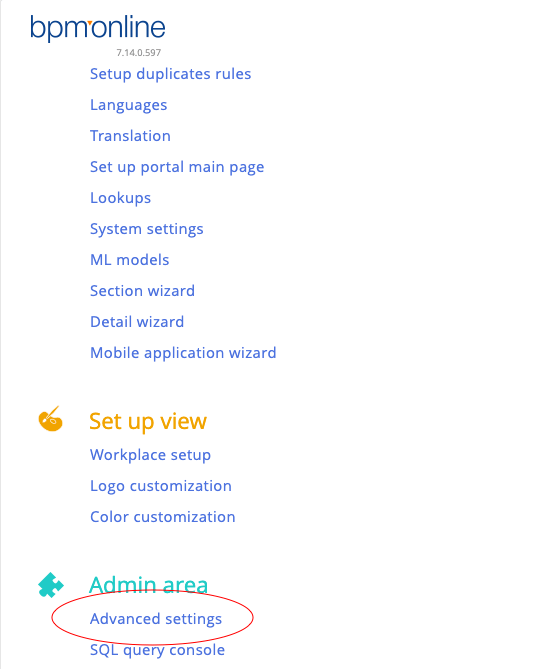
In the [Landing pages and webforms] section, you can select one of the default webforms available as given below (Fig.1).
Fig. 1
In order to add new registration form for the custom object:
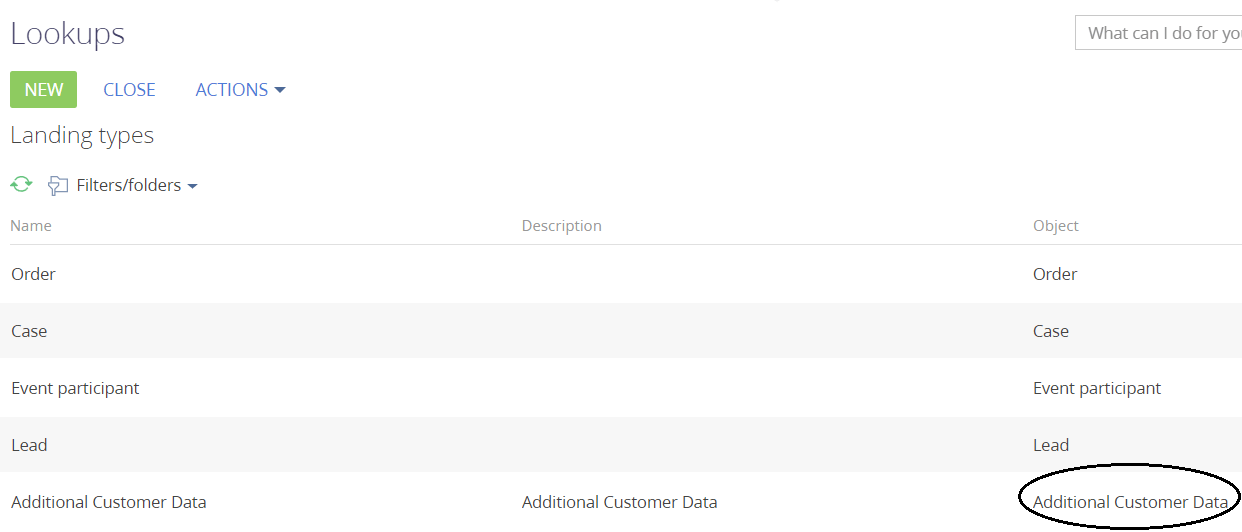
1. Add a new type “Additional Customer Data” landing page to the “Landing types” lookup, which is connected to the custom section.
Fig. 2
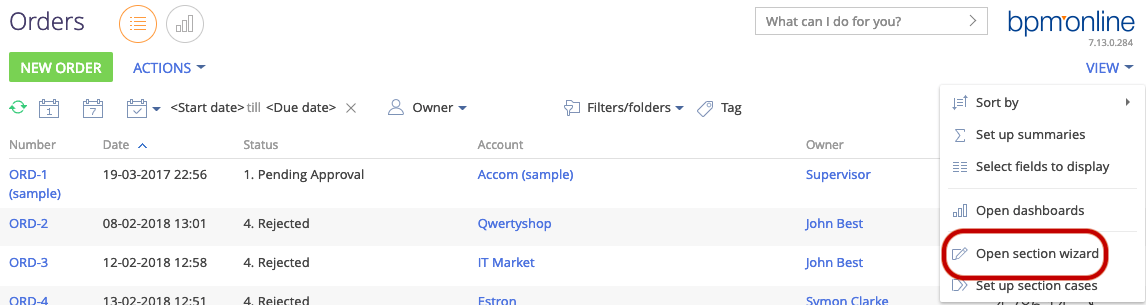
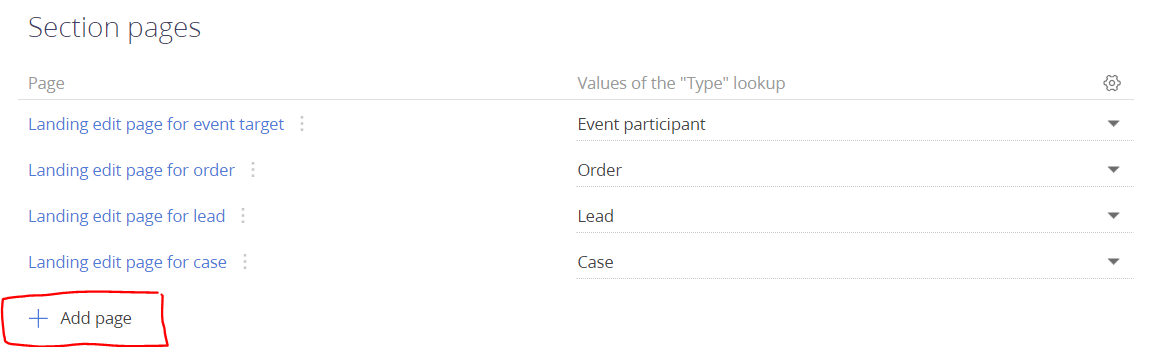
2. After adding a new web form in the “Landing types” lookup, use the Section Wizard to add a new page in the [Landing pages and web forms] section for the newly added type. To open the Section Wizard, go to the [Landing pages and web forms] section, and in the [View] menu select [Open section wizard] (Fig.3 & Fig.4).
Fig.3
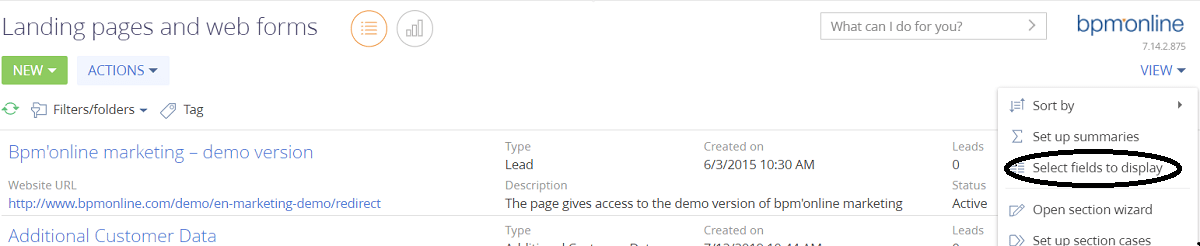
Fig.4
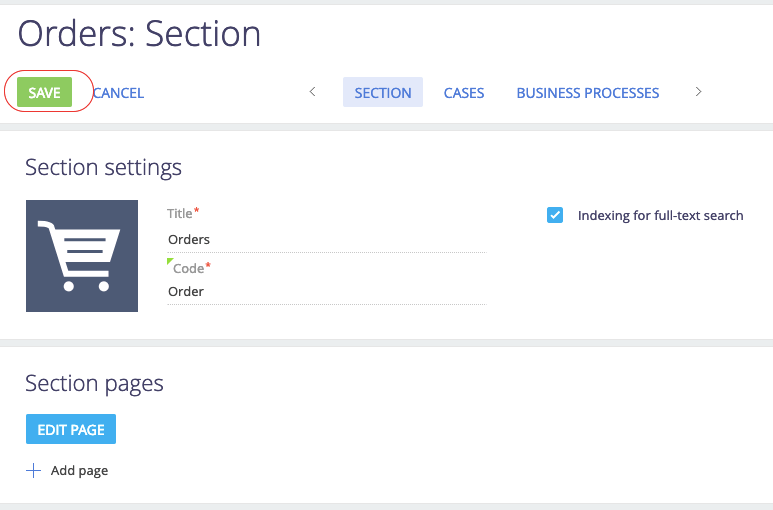
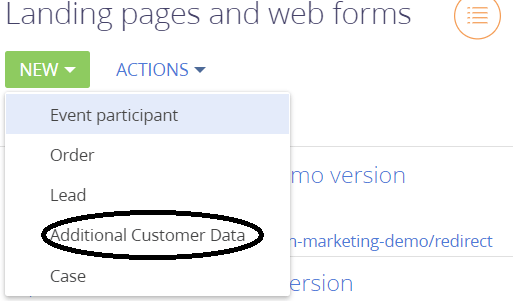
3. Add new additional customer data web registration form in the section wizard (Fig.5). After saving you can see the additional customer data web registration form in the new dropdown (Fig.6).
Fig.5
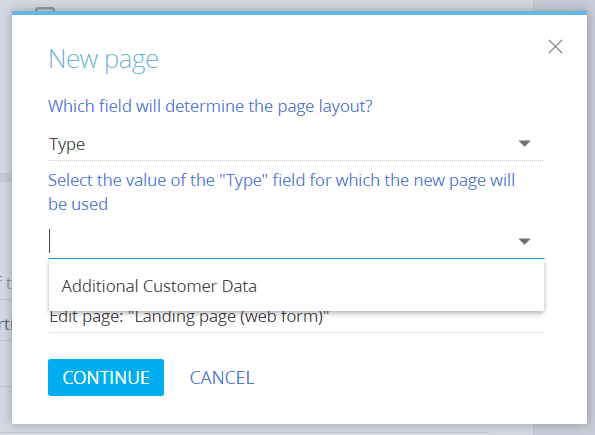
Fig.6
Creating the landing page for custom object
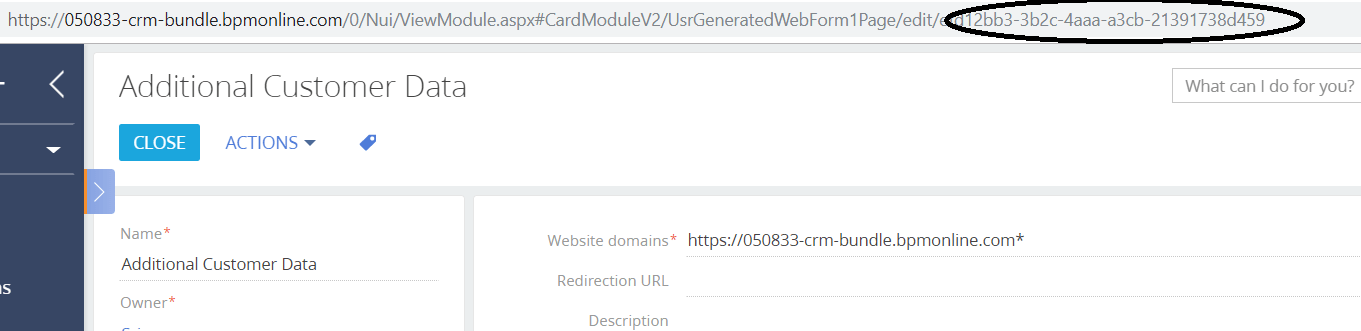
Add new additional customer data web from and save the record. You can get the landing Id for the saved web page from the link (Fig.7). This landing Id can be used to integrate the landing page and web form in WordPress.
Fig.7
Integrating the WordPress Page to Custom Object
Install bpm’online plugin for WordPress (gravity forms, Contact form7). The steps to integrate bpm’online to a WordPress contact form is mentioned in the link below.
https://community.bpmonline.com/articles/bpmonline-plugin-wordpress-gravity-forms-contact-form-7?_ga=2.73954770.153193264.1562563622-1951839029.1560317595
In mapping of the fields (WordPress), 3rd party fields should be the column names in the UsrAdditionalCustomerData table (custom object) (Fig.8).
Fig.8

Use the Landing Id (Fig.7) as the form Id and the column names of the additional customer data table for mapping the landing page fields.
Processing the submitted data in Creatio (formerly bpm’online)
After integration, when a new set of data is submitted in the additional customer data landing page, a corresponding record will be created in UsrAdditionalCustomerData object.
You can write a process to link the newly created record with the corresponding lead automatically or, can give a page where the sales team can review the submitted data and connect with corresponding lead.
Benefits
The solution helps in acquiring additional details (like customer requirement, alternate address, alternate contact information, additional company information etc.) of potential leads from a WordPress landing page.
To learn more on how AgilizTech does customization for bpm’online visit our Creatio blog were we have explained different ways of customization for a business as per their requirements.


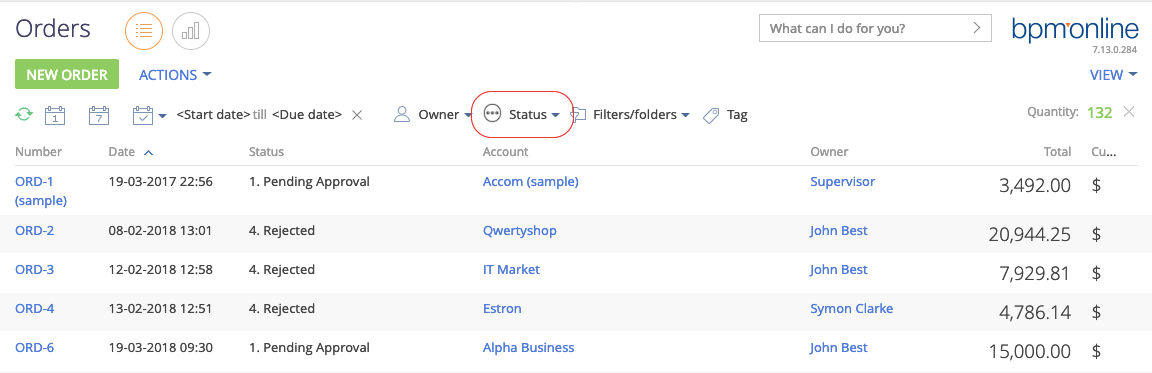
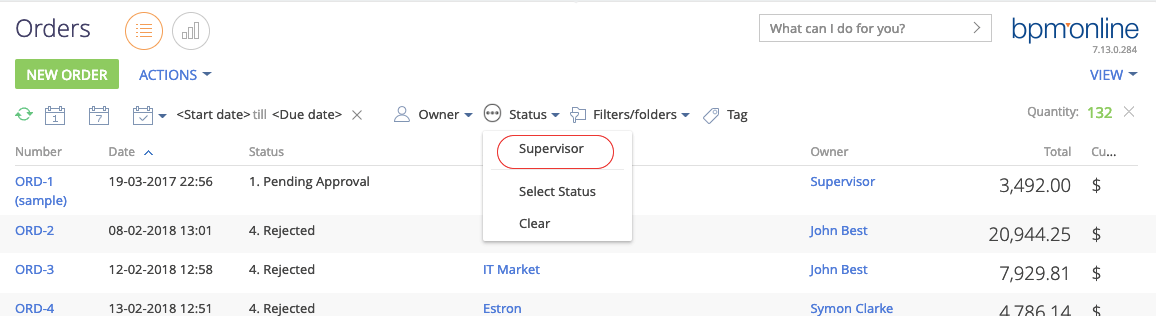
 After applying custom filters (order section – status field):
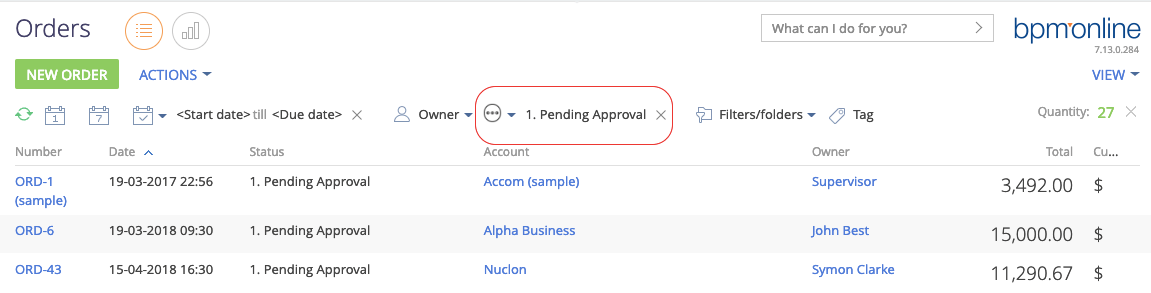